10/02/2020

Switching from Windows to Apple
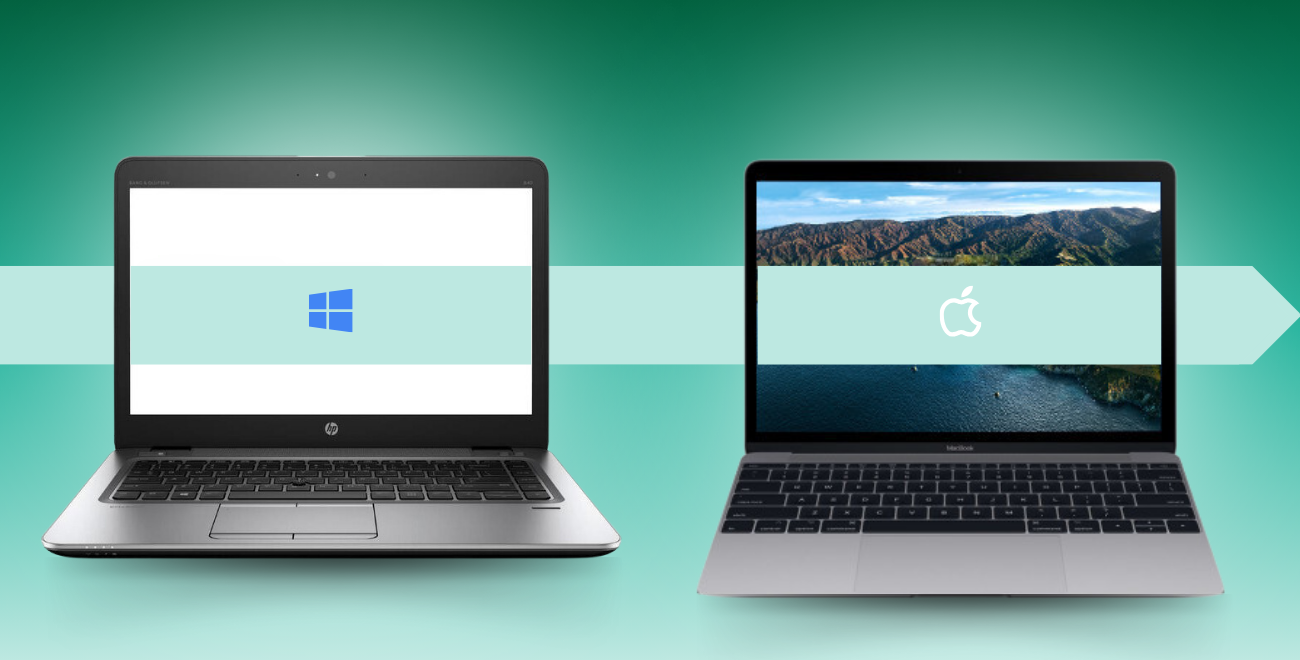
Switching from a Windows computer to an Apple MacBook or iMac can take some getting used to. Apple runs on macOS and responds to different commands. The right-click is different, shortcuts don't work the same way, and what are function keys?
7 tips to make your switch from Windows to MacBook easier:
Can't wait to try everything out on a MacBook? Check out our selection—you can get a MacBook starting at €419.
7 tips to make your switch from Windows to MacBook easier:
Tip 1: The right-click
Unlike many laptops running on Windows, the MacBook trackpad doesn’t have buttons. The first thing you’ll notice on all MacBooks is that the trackpad is one large surface. The way you touch the trackpad determines the function. The right-click function has various options. The most common one is pressing the trackpad with two fingers. However, you can also set it so that a click in the lower right or left corner functions as a right-click. This can be adjusted in ‘Settings’ > ‘Trackpad’.Tip 2: The shortcuts
Everyone knows them from Windows: CTRL+C and CTRL+V. For creating documents, texts, and illustrations, these shortcuts are indispensable. On a MacBook, the function isn’t all that different—CTRL is simply replaced by the CMD key, also known as the ‘command’ key. So you can continue using the familiar shortcuts on your MacBook.Tip 3: Pages, Numbers, and Keynote
Laptops no longer come with a standard Microsoft Office package. However, on a MacBook, you’ll find the applications Pages, Numbers, and Keynote. These free apps are incredibly useful. Pages is for word processing, Numbers for creating spreadsheets, and Keynote for making presentations. This way, you can get started with your MacBook right away without needing to look for additional software. These programs are compatible with Office programs, so you can easily share files. If you still prefer using your trusted Office programs, you can purchase them for your MacBook or iMac.Tip 4: Searching
A very handy feature of the MacBook is the search function. This way, you don't need to browse through all the folders to find the right documents or programs. Apple has placed a magnifying glass in the navigation structure where you can enter your search query. What's even more convenient is the quick shortcut to open the search function: CMD+SPACE. If you can’t find something or you're stuck, just ask Siri. The personal assistant in macOS—ask Siri, and she’ll search for you.Tip 5: Function keys
You might not be familiar with them yet, but Apple’s function keys are located in the top row of the keyboard. On a Windows laptop, the top row usually consists of F-keys, with F4 being a commonly used one. Apple’s function keys feature various icons that indicate their function. For example, with one press of a button, you can adjust the screen brightness or the keyboard backlighting. You can also easily switch tracks when using Spotify or iTunes.Tip 6: Delete key
A MacBook doesn’t have a delete key, but luckily there is a keyboard shortcut that takes over this function: the ‘fn’ key (bottom left) combined with backspace. A MacBook also has more delete functions. For example, using option + backspace deletes the next word to the left of the cursor. You can delete an entire line or paragraph to the left with command + backspace.Tip 7: A screenshot
If you want to take a screenshot on a MacBook or iMac, there are two options: take a screenshot of the entire screen or select an area. You can use the command + shift + 3 key combination to take a screenshot of your whole screen. With command + shift + 4, you can select an area with your mouse to capture as a screenshot.Can't wait to try everything out on a MacBook? Check out our selection—you can get a MacBook starting at €419.
